Top 5 Underwater Photography Challenges and Solutions
Address common issues in underwater photography and learn effective solutions for better results.
Address common issues in underwater photography and learn effective solutions for better results.
Top 5 Underwater Photography Challenges and Solutions
Underwater photography is an incredibly rewarding pursuit, allowing us to capture the breathtaking beauty of the marine world. However, it's also fraught with unique challenges that can frustrate even experienced photographers. From the unpredictable nature of light underwater to the elusive behavior of marine life, getting that perfect shot often feels like a battle against the elements. But don't despair! With the right knowledge, techniques, and gear, you can overcome these hurdles and significantly improve your underwater images. Let's dive deep into the top five common challenges faced by underwater photographers and explore practical solutions to conquer them.
Challenge 1: Poor Lighting and Color Loss Underwater
The moment you descend beneath the surface, you'll notice a dramatic change in light. Water absorbs light, especially the red and orange spectrums, very quickly. This phenomenon, known as color absorption, leads to images that appear blue or green, lacking the vibrant hues you see with your naked eye. The deeper you go, the more pronounced this effect becomes, resulting in flat, monochromatic photos.
Solutions for Overcoming Color Loss and Low Light:
Solution 1.1: Get Closer to Your Subject
This is arguably the most crucial tip in underwater photography. The less water between your lens and your subject, the less light is absorbed, and the more color and clarity you retain. Think of water as a giant filter. By minimizing the amount of water, you minimize the filtering effect. This also helps reduce backscatter (those annoying little white dots caused by light reflecting off particles in the water).
Solution 1.2: Use External Light Sources Strobes and Video Lights
Artificial light is your best friend underwater. Strobes (underwater flashes) and video lights (continuous lights) are essential for bringing back lost colors and illuminating your subjects. Strobes are ideal for still photography, providing a burst of light that freezes motion and restores natural colors. Video lights are perfect for videography and can also be used for still photography, especially for macro subjects or when you need a constant light source for focusing.
Recommended Strobes:
- Inon Z-330 Type 2 Strobe: A powerful and reliable strobe known for its wide beam angle and fast recycle time. Excellent for both wide-angle and macro.
- Sea&Sea YS-D3 DUO Strobe: Offers a wide beam and quick recycle, with a unique 'DUO' mode for enhanced light output. A favorite among professionals.
- Retra Flash PRO X: High-end, compact, and extremely powerful. Known for its consistent output and robust build.
Recommended Video Lights:
- Kraken Sports Hydra 5000 WRGB: A versatile light with 5000 lumens, offering white, red, green, and blue light options. Great for both video and focus light.
- Light & Motion Sola Video 3000: Compact and powerful, offering 3000 lumens with a wide beam. Easy to use and reliable.
- Bigblue VL4200P: A popular choice for its high lumen output (4200 lumens) and wide beam, suitable for various video applications.
Solution 1.3: Understand White Balance and Color Correction
While artificial light is key, understanding white balance is also vital, especially for wide-angle shots where strobes might not reach. Many cameras have an underwater white balance setting, or you can manually set it. Custom white balance, where you tell your camera what 'white' looks like underwater, can significantly improve color accuracy. Post-processing software like Adobe Lightroom or Photoshop also offers powerful color correction tools to fine-tune your images.
Challenge 2: Backscatter and Murky Water
Backscatter refers to the tiny particles (sediment, plankton, debris) in the water column that reflect your strobe or video light back into the lens, appearing as distracting white dots in your photos. Murky water, on the other hand, is a broader issue of poor visibility, making it difficult to achieve sharp, clear images.
Solutions for Minimizing Backscatter and Dealing with Murky Water:
Solution 2.1: Proper Strobe Positioning
This is the most effective way to combat backscatter. Instead of pointing your strobes directly at your subject, angle them outwards, away from the lens. This technique, known as 'lighting from the side' or 'raking light,' illuminates the subject without directly lighting the particles between your lens and the subject. Experiment with different angles to find what works best for your setup and conditions.
Solution 2.2: Reduce Your Aperture and Increase Shutter Speed
A smaller aperture (higher f-number) will increase your depth of field, making more of your image in focus, but it also makes backscatter more prominent. Conversely, a wider aperture (lower f-number) can help blur out some backscatter, especially in macro photography. For wide-angle, try to find a balance. Increasing your shutter speed can help freeze motion and reduce the appearance of moving particles, but remember to balance it with your strobe sync speed.
Solution 2.3: Dive in Clear Conditions and Choose Your Dive Sites Wisely
While not always possible, choosing dive sites known for their clear water can significantly reduce backscatter issues. Research local conditions, tidal patterns, and recent weather to find the best visibility. Sometimes, simply waiting for the right time of day or tide can make a huge difference.
Solution 2.4: Post-Processing for Backscatter Removal
Even with the best techniques, some backscatter might remain. Software like Lightroom and Photoshop have tools (e.g., spot healing brush, clone stamp) that can effectively remove individual backscatter spots. There are also specialized plugins designed for underwater photo editing that can automate some of this process.
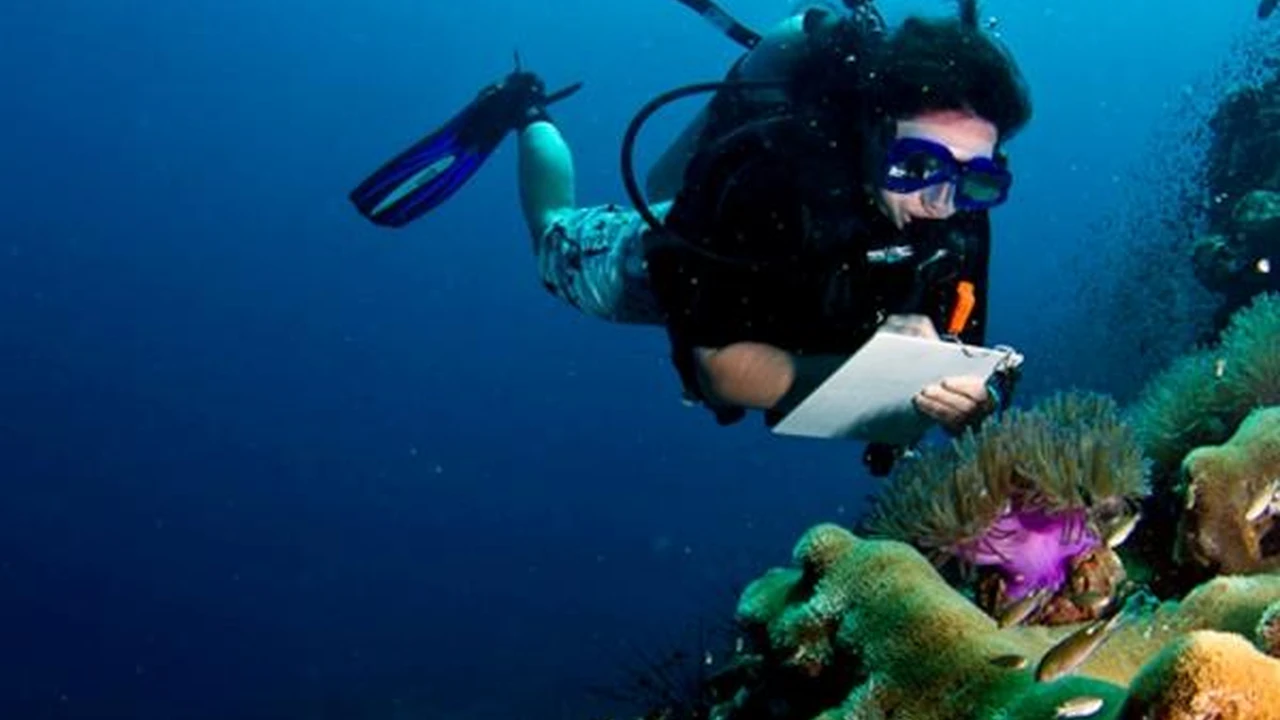
Challenge 3: Achieving Sharp Focus and Composition
Focusing underwater can be tricky due to low light, moving subjects, and the refractive index of water. Composition, while similar to land photography, has its own nuances underwater, requiring you to consider buoyancy, subject behavior, and the dynamic environment.
Solutions for Sharp Focus and Strong Composition:
Solution 3.1: Use a Focus Light
A dedicated focus light (often integrated into video lights or separate units) helps your camera's autofocus system lock onto subjects in low light. This is especially crucial for macro photography where precise focus is paramount.
Solution 3.2: Master Your Camera's Autofocus Modes
Understand and utilize your camera's autofocus modes. Continuous autofocus (AF-C or AI Servo) is often best for moving subjects, while single-shot autofocus (AF-S or One-Shot AF) is good for stationary subjects. Experiment with different autofocus points (single point, zone, dynamic area) to find what works best for various scenarios.
Solution 3.3: Practice Buoyancy Control
Excellent buoyancy control is fundamental to good underwater photography. It allows you to stay stable, approach subjects slowly without disturbing them, and position yourself for the best angles. The less you fin and struggle, the more stable your shots will be. Invest time in perfecting your buoyancy skills.
Solution 3.4: Apply Compositional Rules Underwater
Rules like the Rule of Thirds, leading lines, negative space, and framing are just as relevant underwater. Look for interesting foregrounds, backgrounds, and natural frames (like coral formations or arches). Pay attention to the direction your subject is looking or moving, and give them 'swim room' in the frame.
Solution 3.5: Shoot in Burst Mode
For fast-moving subjects, shooting in burst mode (continuous shooting) increases your chances of capturing a sharp image with good composition. You can then select the best shot from the sequence.
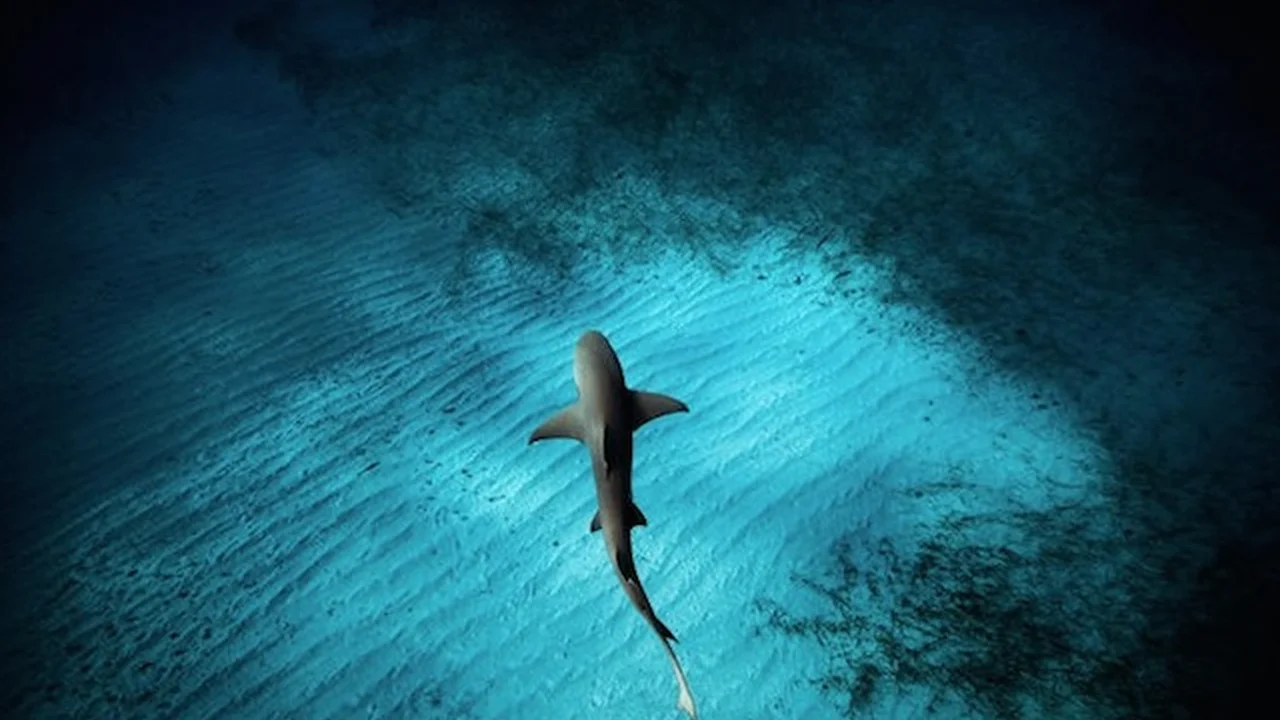
Challenge 4: Dealing with Elusive and Shy Marine Life
Marine creatures are not always cooperative models. They can be shy, fast-moving, or perfectly camouflaged, making it difficult to get close enough for a good shot without disturbing them.
Solutions for Photographing Elusive Marine Life:
Solution 4.1: Patience and Observation
The key to photographing shy marine life is patience. Spend time observing their behavior, understanding their patterns, and anticipating their movements. Don't rush. Often, if you remain still and calm, the marine life will become more accustomed to your presence.
Solution 4.2: Approach Slowly and Respectfully
Always approach marine life slowly and calmly. Avoid sudden movements or loud noises. Maintain a respectful distance and never harass or touch marine animals. A good dive guide can often help you spot and approach subjects without disturbing them.
Solution 4.3: Use Longer Lenses for Macro Photography
For very shy macro subjects, a longer macro lens (e.g., 100mm or 105mm equivalent) allows you to maintain a greater distance while still achieving a high magnification. This reduces the likelihood of scaring the creature away.
Recommended Macro Lenses (for DSLR/Mirrorless):
- Nikon AF-S VR Micro-Nikkor 105mm f/2.8G IF-ED: A classic choice for Nikon users, offering excellent sharpness and working distance.
- Canon EF 100mm f/2.8L Macro IS USM: Canon's equivalent, known for its superb image quality and image stabilization.
- Olympus M.Zuiko Digital ED 60mm f/2.8 Macro: A fantastic option for Micro Four Thirds systems, providing a good working distance and sharp results.
Solution 4.4: Learn About Marine Life Behavior
The more you know about the marine life you're photographing, the better your chances of success. Understanding their feeding habits, mating rituals, and defensive behaviors can help you predict their movements and capture unique moments.
Challenge 5: Equipment Maintenance and Water Leaks
Underwater photography gear is expensive and delicate. Water is its natural enemy, and a single leak can be catastrophic, ruining your camera, lens, or housing. Proper maintenance and vigilance are paramount.
Solutions for Equipment Maintenance and Preventing Leaks:
Solution 5.1: Meticulous O-Ring Care
O-rings are the most critical component in preventing leaks. Always inspect them before every dive. Look for hair, sand, dust, or any debris. Clean them gently with a lint-free cloth. Apply a thin, even layer of silicone grease (specifically designed for O-rings, not petroleum jelly) to keep them supple and create a good seal. Never over-grease, as this can attract debris.
Solution 5.2: Test Your Housing Before Every Dive
Before putting your camera in, perform a dry test. Close the housing and submerge it in a shallow basin of water for 10-15 minutes. Look for any bubbles indicating a leak. If you see bubbles, do not use the housing until you've identified and fixed the problem. Some housings also have vacuum pump systems that allow you to test the seal without submerging.
Recommended Vacuum Pump Systems:
- Nauticam Vacuum Check System: A highly reliable system that creates a vacuum inside the housing, indicating if the seal is compromised.
- Ikelite Vacuum Pump with Sensor: Ikelite offers integrated vacuum systems for their housings, providing peace of mind.
Solution 5.3: Rinse Your Gear Thoroughly After Every Dive
After each dive, rinse your entire setup (camera in housing, strobes, arms) thoroughly in fresh water. Pay special attention to buttons, dials, and ports to remove salt crystals. Do not use hot water, as it can damage O-rings. Let it air dry completely before opening the housing.
Solution 5.4: Store Your Gear Properly
When not in use, store your housing with the O-rings clean and lightly greased, but do not leave the housing latched for extended periods, as this can compress the O-rings. Store it in a cool, dry place, away from direct sunlight.
Solution 5.5: Carry Spare Parts and Tools
Always carry spare O-rings, silicone grease, and a small toolkit (allen wrenches, screwdrivers) for minor repairs or adjustments. A spare battery for your camera and strobes is also a must.
By understanding these common challenges and implementing these solutions, you'll be well on your way to capturing stunning underwater photographs. Remember, practice makes perfect, and every dive is an opportunity to learn and improve. Happy shooting!
:max_bytes(150000):strip_icc()/277019-baked-pork-chops-with-cream-of-mushroom-soup-DDMFS-beauty-4x3-BG-7505-5762b731cf30447d9cbbbbbf387beafa.jpg)