Understanding Underwater White Balance and Color Correction
Guide to achieving accurate colors in underwater photos and videos through proper white balance.
Guide to achieving accurate colors in underwater photos and videos through proper white balance.
Understanding Underwater White Balance and Color Correction
Why Underwater Color Correction is a Big Deal
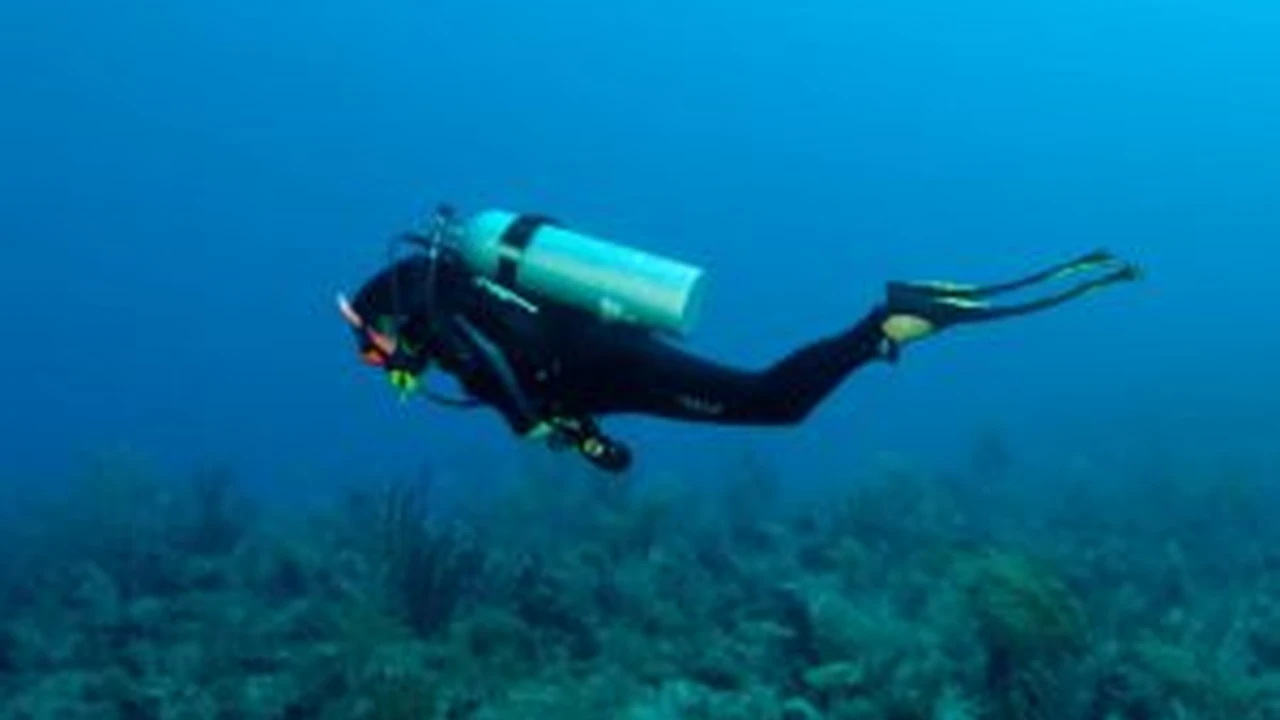
So, you've just come back from an amazing dive, full of vibrant corals and colorful fish. You excitedly upload your photos and videos, only to find… everything looks blue or green. Sound familiar? This is super common in underwater photography and videography, and it's all thanks to how light behaves once it hits the water. Water acts like a giant filter, absorbing different colors of the light spectrum at varying rates. Red is the first to go, disappearing just a few feet below the surface. Orange follows, then yellow, and so on, until at deeper depths, pretty much all you're left with is blue and green light. This is why your underwater shots often lack the punch and true-to-life colors you saw with your own eyes. That's where understanding white balance and color correction comes in. It's not just about making things look pretty; it's about restoring the natural beauty of the underwater world in your images.
The Science Behind Underwater Color Loss
Let's get a little nerdy for a sec, but in a fun way. Sunlight is made up of all the colors of the rainbow. When light travels through air, we see all those colors. But water is much denser than air, and its molecules absorb light energy. Different wavelengths (colors) of light have different energy levels. Red light has a longer wavelength and less energy, so it gets absorbed very quickly. Think about it: even in a swimming pool, if you drop a red toy, it looks less red the deeper it goes. In the ocean, this effect is magnified. By about 15-20 feet (5-6 meters), most of the red light is gone. By 30-40 feet (9-12 meters), orange and yellow start to fade. Below 60 feet (18 meters), you're pretty much in a blue-green world. This is why, without any help, your camera will capture a predominantly blue or green image, even if you're looking at a bright red anemone.
What is White Balance and Why Does it Matter Underwater
In simple terms, white balance tells your camera what 'white' looks like under a specific lighting condition. Once the camera knows what white is, it can then accurately render all other colors. On land, your camera has presets for different light sources like daylight, cloudy, tungsten, fluorescent, etc. These presets adjust the color temperature (measured in Kelvin) to make sure whites look white and colors look natural. Underwater, however, these standard presets usually don't cut it because of the extreme color absorption. If you use 'daylight' underwater, your camera will still see everything as too blue and try to compensate by adding more blue, making the problem worse. That's why you need specific underwater white balance techniques or tools.
Manual White Balance The Best Approach for Natural Colors
For most serious underwater photographers and videographers, manual white balance (MWB) is the holy grail. It's the most accurate way to get true-to-life colors directly in your camera, reducing the amount of post-processing you'll need to do. Here's how it generally works:
- Find a Neutral Subject: You need something truly white or neutral gray. A white slate, a white fin, or even the sand if it's clean and bright can work.
- Position Your Subject: Hold your white or gray target in front of your camera, filling the frame. Make sure it's at the same depth and under the same lighting conditions as your main subject will be.
- Initiate Manual White Balance: On your camera, navigate to the manual white balance setting (often labeled 'Custom White Balance' or 'Preset White Balance').
- Capture the White: Follow your camera's instructions to 'read' the white target. The camera will then analyze the light reflecting off the white object and adjust its color settings to make that object appear truly white.
- Shoot Away: Once set, your camera will apply this new white balance setting to all subsequent shots, making colors appear much more natural.
When to Re-White Balance: You'll need to re-do your manual white balance whenever there's a significant change in depth, light conditions (e.g., sun goes behind a cloud), or if you move to a different area with different water clarity. It's a bit of a ritual, but totally worth it for the results.
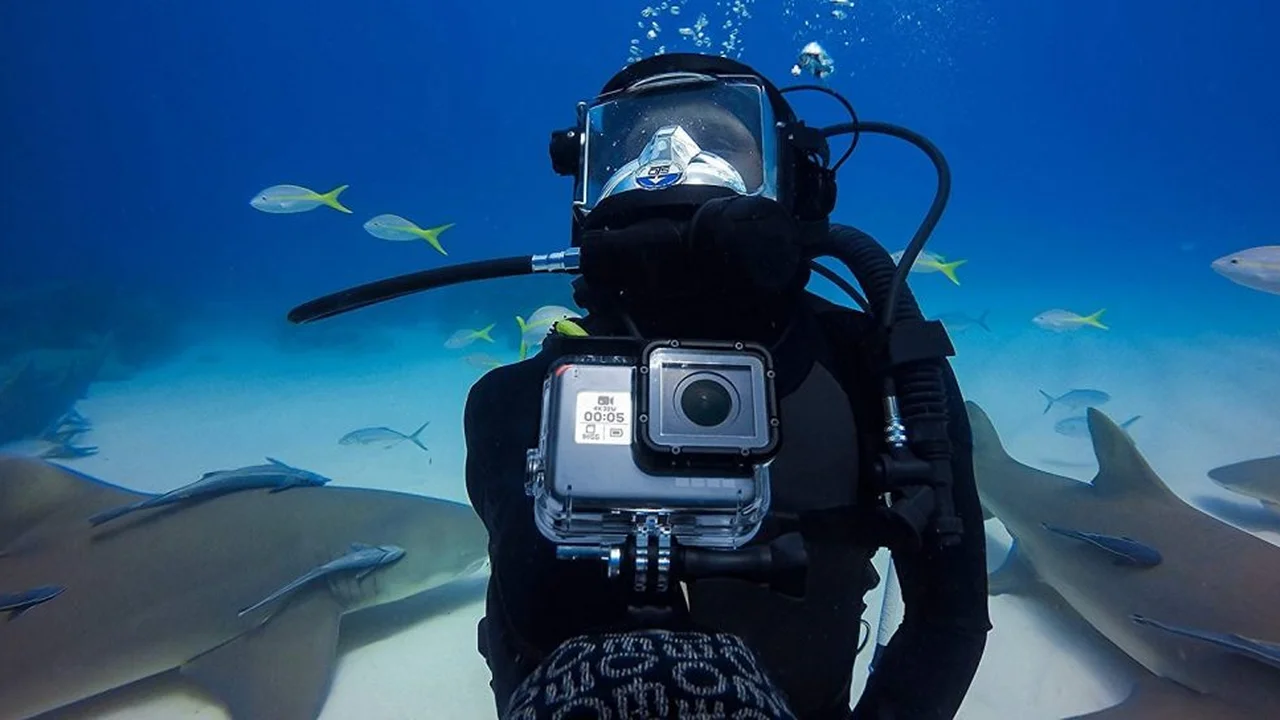
Using Color Filters The Easy Way to Add Color Back
Color correction filters are physical filters that you attach to the front of your camera housing's port or lens. They work by selectively filtering out some of the blue/green light, allowing more red and orange light to reach your camera's sensor. This helps to restore a more balanced color spectrum. They are particularly effective in shallower waters (up to about 60-70 feet or 18-21 meters) where there's still some red light to recover.
Types of Color Filters and Their Use Cases
- Red Filters: These are the most common and are designed for blue water environments (like oceans). They work best in depths from about 15 feet (5 meters) down to 60-70 feet (18-21 meters).
- Magenta Filters: These are designed for green water environments (like lakes, rivers, or some coastal areas). They help to remove the green cast.
- Shallow Water Filters: Some brands offer lighter red or pink filters specifically for very shallow depths (0-15 feet or 0-5 meters) where less correction is needed.
Recommended Color Filters and Their Features
When it comes to filters, you've got a few solid options. The choice often depends on your camera system and housing.
1. Backscatter FLIP Filters
Description: The Backscatter FLIP system is incredibly popular, especially for GoPro users, but they also have options for other compact cameras. It's a modular system that allows you to quickly switch between different filters (red, magenta, shallow) and even add macro lenses. The 'FLIP' mechanism means you can flip the filter out of the way when you don't need it (e.g., at the surface or with artificial lights).
Use Case: Ideal for divers who want versatility and quick changes. Perfect for GoPros where manual white balance isn't as robust as on larger cameras.
Pros: Easy to use, quick to switch, durable, excellent optical quality. The FLIP system is very intuitive.
Cons: Can be a bit bulky on smaller cameras. Specific to certain housing models.
Estimated Price: Starts around $100-$200 for a basic FLIP system with one filter, depending on the camera model.
2. PolarPro DiveMaster Filters
Description: PolarPro offers high-quality filter sets, often for GoPros and other action cameras. Their DiveMaster 3-Pack for GoPro typically includes a Red filter (for blue water), a Magenta filter (for green water), and a Snorkel filter (for shallow water). They are designed to snap directly onto the camera housing.
Use Case: Great for action camera users who want a simple, effective solution for various water conditions.
Pros: Easy to install, good optical clarity, compact. Often sold in convenient multi-packs.
Cons: Not as quick to switch as a FLIP system. Can be lost if not securely attached.
Estimated Price: Around $50-$80 for a 3-pack of filters.
3. Inon UCL-165M67 / UCL-90 M67 (for Macro) and Wide Angle Lenses with Filter Threads
Description: While primarily known for their wet lenses (macro and wide-angle), many high-end wet lenses from Inon, Nauticam, or Saga have 67mm filter threads. This allows you to screw in standard 67mm red or magenta filters directly onto the wet lens. This is more common for mirrorless or DSLR setups with dedicated ports and wet lenses.
Use Case: For advanced users with larger camera systems who want to combine filters with wet lenses for specific shots (e.g., wide-angle with color correction).
Pros: High optical quality, versatile if you already use wet lenses.
Cons: Requires a wet lens with filter threads, not a standalone filter solution. Can be cumbersome to change underwater.
Estimated Price: Filters themselves are around $50-$100, but you need the compatible wet lens (which can be $500-$1000+).
Combining Filters with Manual White Balance The Ultimate Combo
Here's a pro tip: you can often get even better results by combining a color filter with manual white balance. The filter does the heavy lifting of removing the dominant blue/green cast, and then your manual white balance fine-tunes the remaining colors for perfect accuracy. This is especially useful in challenging lighting conditions or at varying depths. Just remember to set your manual white balance *with* the filter attached.
Post-Processing Color Correction Bringing Your Images to Life
Even with the best in-camera techniques, post-processing is almost always necessary to truly make your underwater photos and videos pop. Software like Adobe Lightroom, Photoshop, DaVinci Resolve, or Final Cut Pro offer powerful tools for color correction.
Key Post-Processing Tools and Techniques
- White Balance Adjustment: Even if you used MWB, you can fine-tune it in post. Use the eyedropper tool on a neutral gray or white area in your image.
- Color Sliders (Hue, Saturation, Luminance - HSL): These are your best friends. You can selectively adjust the hue (the actual color), saturation (intensity of the color), and luminance (brightness of the color) of individual color channels. For example, you might boost the reds and oranges, or slightly desaturate the blues if they're too overpowering.
- Curves and Levels: These tools allow for precise control over the tonal range and contrast of your image, which can also impact perceived color.
- Vibrance vs. Saturation: Vibrance intelligently boosts less saturated colors without over-saturating already vibrant ones, making it great for underwater scenes. Saturation boosts all colors equally.
- Sharpening and Noise Reduction: While not directly color-related, these are crucial for a polished final image. Underwater photos often suffer from softness and noise due to low light.
Recommended Software for Post-Processing
1. Adobe Lightroom Classic / Lightroom CC
Description: The industry standard for photo editing. Lightroom offers powerful non-destructive editing, excellent color correction tools, and a great workflow for managing large libraries of images. It's subscription-based.
Use Case: Ideal for photographers who shoot a lot of stills and want a comprehensive, organized workflow.
Pros: Powerful, intuitive, excellent color tools, cloud sync (CC version), vast community support.
Cons: Subscription model, can be resource-intensive.
Estimated Price: Photography Plan (Lightroom + Photoshop) starts at $9.99/month.
2. DaVinci Resolve (Free and Studio Versions)
Description: While known for video editing, DaVinci Resolve has an incredibly powerful 'Color' page that rivals dedicated color grading software. The free version is surprisingly robust and capable of professional-level color correction for both video and stills.
Use Case: Perfect for videographers, but also excellent for photographers who want advanced color grading capabilities without a subscription.
Pros: Extremely powerful color grading, free version is feature-rich, excellent for video, cross-platform.
Cons: Steep learning curve, can be very demanding on computer hardware.
Estimated Price: Free for the basic version; DaVinci Resolve Studio is a one-time purchase of around $295.
3. Photoshop
Description: The ultimate image manipulation tool. While Lightroom is better for batch processing and general workflow, Photoshop offers pixel-level control and advanced layering for intricate color adjustments and retouching.
Use Case: For detailed retouching, complex composites, or when you need absolute control over every pixel. Often used in conjunction with Lightroom.
Pros: Unparalleled control, vast array of tools, industry standard.
Cons: Steep learning curve, not ideal for batch processing, subscription model.
Estimated Price: Included in the Adobe Photography Plan ($9.99/month).
Tips for Getting the Best Underwater Colors
- Shoot in RAW (for photos): RAW files contain much more color information than JPEGs, giving you far greater flexibility for color correction in post-processing.
- Shoot in Log (for video): If your camera supports it, shooting in a 'Log' profile (like S-Log, C-Log, V-Log) captures a wider dynamic range and flatter image, which is ideal for color grading in post.
- Get Closer to Your Subject: The less water between your camera and your subject, the less color absorption, and the better your colors will be. This is probably the single most important tip for underwater photography.
- Use Artificial Light (Strobes/Video Lights): For the most vibrant and accurate colors, especially at depth or in low light, artificial light is indispensable. Strobes (for photos) and video lights (for video) bring back all the lost colors by providing their own full-spectrum light source. When using artificial light, you often don't need a color filter, and you'll typically set your white balance to 'daylight' or 'flash'.
- Monitor Your Histogram: Pay attention to your camera's histogram. It shows the tonal distribution of your image. An underexposed image will have less color information to work with.
- Practice, Practice, Practice: Like any skill, getting good at underwater color correction takes practice. Experiment with different settings, filters, and post-processing techniques.
Common Mistakes to Avoid
- Over-correcting: Don't go overboard with saturation or color boosts. Natural-looking colors are always better than overly vibrant, artificial ones.
- Ignoring Depth: A single white balance setting won't work for all depths. Adjust as you descend or ascend.
- Not Using a White/Gray Card for MWB: Guessing your white balance is a recipe for inconsistent results. Always use a neutral target.
- Relying Solely on Auto White Balance: While modern cameras are getting better, auto white balance underwater is still often unreliable and will give you blue/green images.
- Forgetting About Artificial Light: If you're using strobes or video lights, remember they provide their own light. Using a red filter with strobes can make your images too red.
Mastering underwater white balance and color correction is a journey, not a destination. It takes time, experimentation, and a keen eye. But once you get the hang of it, you'll be amazed at the difference it makes in bringing the true beauty of the underwater world to your photos and videos. So, dive in, experiment, and happy shooting!
:max_bytes(150000):strip_icc()/277019-baked-pork-chops-with-cream-of-mushroom-soup-DDMFS-beauty-4x3-BG-7505-5762b731cf30447d9cbbbbbf387beafa.jpg)