Scuba Diving Buoyancy Control Tips for Beginners
Practical advice and techniques for achieving perfect buoyancy control, a fundamental diving skill.
Practical advice and techniques for achieving perfect buoyancy control, a fundamental diving skill.
Scuba Diving Buoyancy Control Tips for Beginners
Understanding Buoyancy Scuba Diving Fundamentals
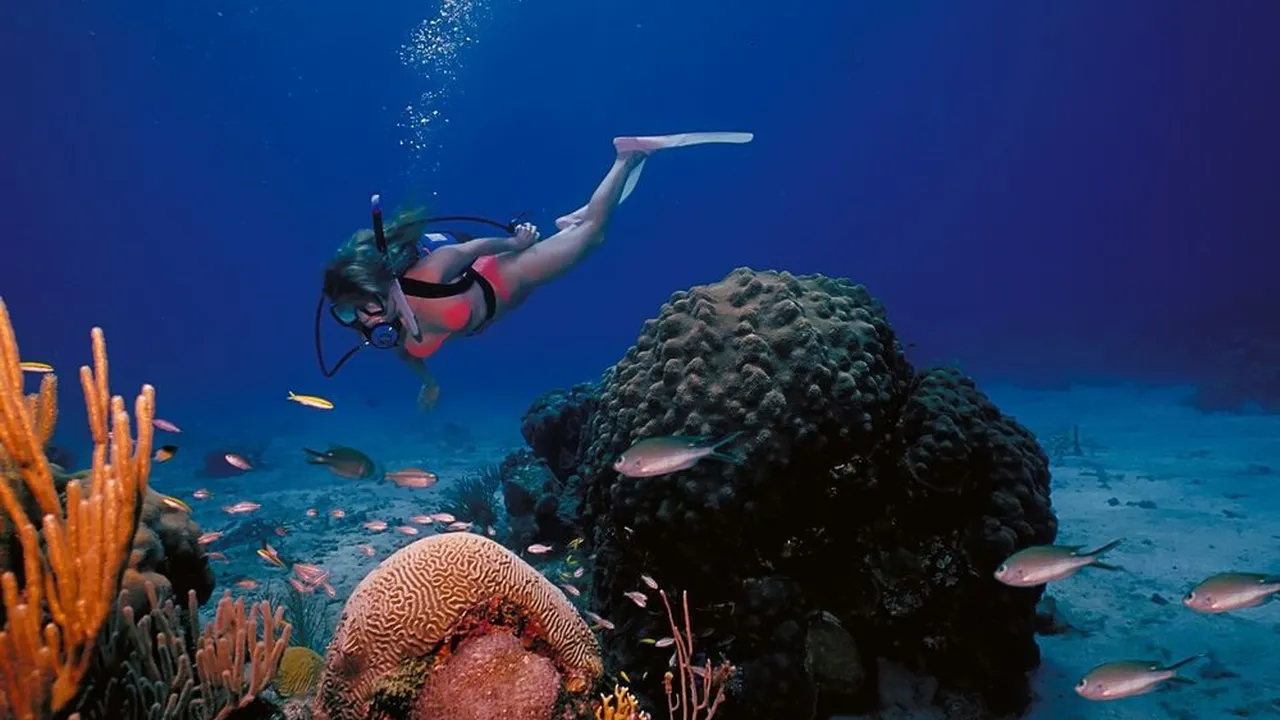
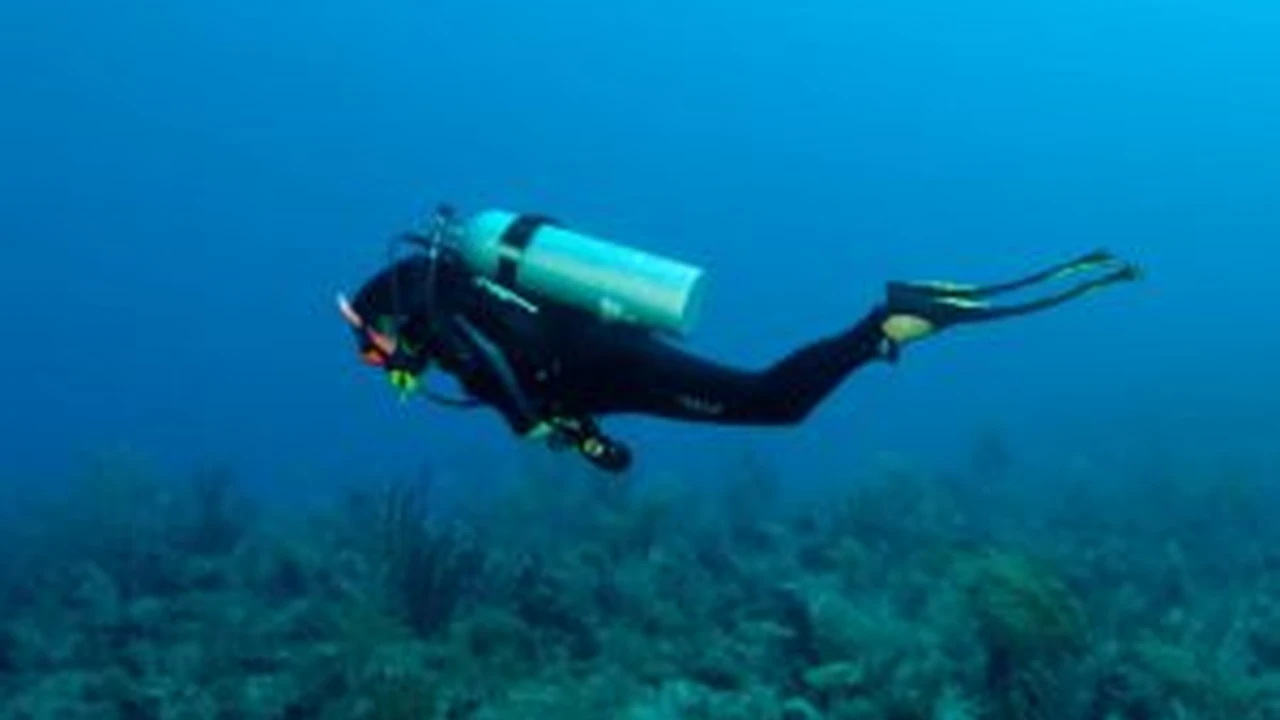
Hey there, aspiring divers! Let's talk about buoyancy control. If you've ever seen an experienced diver effortlessly glide through the water, seemingly weightless, you've witnessed perfect buoyancy in action. It's not magic; it's a skill, and it's absolutely fundamental to safe, enjoyable, and environmentally friendly scuba diving. Think of it as your superpower underwater. Without good buoyancy, you're either sinking like a rock, kicking up silt, or bobbing uncontrollably to the surface. None of those are ideal, right? Good buoyancy means less effort, less air consumption, better marine life viewing, and most importantly, protecting the delicate underwater environment from accidental bumps and scrapes.
So, what exactly is buoyancy? In simple terms, it's the upward force exerted by a fluid that opposes the weight of an immersed object. In diving, we're dealing with positive buoyancy (floating), negative buoyancy (sinking), and neutral buoyancy (hovering). Our goal as divers is to achieve neutral buoyancy at various depths. This allows us to move horizontally with minimal effort, conserve air, and maintain a stable position to observe marine life or take photos.
Several factors influence your buoyancy. First, there's your body composition. Muscle is denser than fat, so two divers of the same weight might require different amounts of lead. Then there's your exposure suit – a wetsuit provides buoyancy because of the trapped air bubbles in the neoprene, and a dry suit is even more buoyant due to the air you inflate it with. Your scuba tank also plays a role; a full aluminum tank is negatively buoyant, but as you breathe air out of it, it becomes more positively buoyant. And, of course, the water itself. Saltwater is denser than freshwater, meaning you'll need more weight to sink in the ocean than in a lake or quarry.
Essential Gear for Buoyancy Control BCDs and Weights
Your buoyancy compensator device, or BCD, is your primary tool for buoyancy control. It's essentially an inflatable vest that you wear, connected to your tank. By adding air from your tank into the BCD, you increase your volume and become more buoyant. By releasing air, you decrease your volume and become less buoyant. Mastering your BCD is key to becoming a proficient diver.
When it comes to BCDs, there are a few main types. Jacket-style BCDs are the most common for beginners. They wrap around your torso like a vest, and the air bladder inflates around your sides and back. They're generally comfortable and provide good stability on the surface. A popular choice for beginners is the Cressi Start Pro 2.0 BCD. It's known for its durability, integrated weight pockets, and comfortable fit. Expect to pay around $350-$450 for a new one. It's a solid all-rounder, great for recreational diving, and easy to manage for new divers.
Then you have Wing-style BCDs, often preferred by more experienced or technical divers. The air bladder is entirely on your back, which can offer a more streamlined profile underwater and better trim (how you're oriented in the water). They might feel a bit different on the surface, but many divers find them superior for achieving perfect horizontal trim. A great entry-level wing system is the ScubaPro Hydros Pro BCD. It's modular, super comfortable, and offers excellent trim. It's a bit pricier, usually in the $800-$1000 range, but it's built to last and adapts to different diving styles.
Finally, there are Hybrid BCDs, which try to combine the best of both worlds, offering some wrap-around inflation for surface comfort and a more streamlined back inflation for underwater trim. The Aqua Lung Pro HD BCD is a good example, offering integrated weights and a comfortable design, typically retailing for $500-$650. It's a good compromise if you're not sure which style you'll prefer long-term.
Now, let's talk about weights. Lead weights are crucial for counteracting your natural buoyancy and the buoyancy of your exposure suit. Most BCDs today come with integrated weight pockets, which are super convenient as they distribute the weight more evenly and are easy to ditch in an emergency. Some divers still prefer a traditional weight belt, especially if they need to fine-tune their weighting or prefer the simplicity. The amount of weight you need will vary based on your body, your wetsuit thickness, and whether you're diving in fresh or saltwater. A good starting point is usually 10% of your body weight, plus a few extra pounds for a thick wetsuit, but this will need to be adjusted during your check dive.
Pre-Dive Buoyancy Checks Weighting and Trim
Before you even get in the water, you need to figure out your ideal weighting. This is probably one of the most overlooked steps for new divers, but it's absolutely critical. Too much weight, and you'll be fighting to stay up, wasting air. Too little, and you'll struggle to descend or stay down. Here's a simple pre-dive buoyancy check:
- Full Gear, Empty BCD: Put on all your gear, including your mask, fins, and a full tank. Make sure your BCD is completely deflated.
- Enter the Water: Get into water deep enough that you can stand but your head is still above the surface.
- Take a Normal Breath: Take a normal breath and hold it. You should float at eye level. If you sink, you're overweighted. If you float too high, you're underweighted.
- Exhale Fully: Now, exhale completely. You should slowly start to sink. If you still float, you need more weight. If you sink rapidly, you have too much weight.
Remember, this is a starting point. You'll fine-tune it during your first few dives. Always err on the side of being slightly overweighted initially, as it's easier to remove weight than to add it underwater. Also, consider your trim. Trim refers to your body's orientation in the water – ideally, you want to be horizontal, like a torpedo, not vertical like a seahorse. Integrated weight pockets help with this, but sometimes you might need to adjust where your weights are placed, or even add small trim weights to your tank strap, to achieve that perfect horizontal position.
Mastering Buoyancy Underwater The Art of Neutrality
Okay, you're weighted correctly. Now for the fun part: achieving neutral buoyancy underwater. This is where the magic happens, and it primarily involves your BCD and your lungs. Yes, your lungs! Your breathing plays a huge role in fine-tuning your buoyancy.
Descent Techniques Buoyancy Control from the Start
When you're ready to descend, start by deflating your BCD completely. Take a deep breath, then slowly exhale. As you exhale, you'll start to sink. If you're weighted correctly, a full exhale should be enough to initiate a slow, controlled descent. If you're not sinking, add a tiny burst of air to your BCD, then release it. This creates a negative buoyancy moment. As you descend, remember to equalize your ears frequently! As you go deeper, the water pressure compresses the air in your BCD and wetsuit, making you less buoyant. You'll need to add small, short bursts of air to your BCD to counteract this compression and slow your descent. The key here is small bursts. A little air goes a long way. Don't wait until you're plummeting to add air; anticipate the change.
Achieving Neutral Buoyancy at Depth Fine-Tuning with Breath
Once you reach your desired depth, the goal is to become neutrally buoyant. This means you're neither rising nor sinking. Add small amounts of air to your BCD until you feel yourself stop sinking. Then, use your breathing to fine-tune. A deep inhale will make you slightly more buoyant, causing you to rise a little. A full exhale will make you slightly less buoyant, causing you to sink a little. Practice this: inhale, rise slightly; exhale, sink slightly. With practice, you'll be able to hover motionless, using only your breath to make subtle adjustments. This is where you truly become one with the water.
Ascent Techniques Controlled and Safe
Ascending requires just as much control as descending, if not more. The golden rule of diving is to ascend slowly, no faster than 30 feet per minute (or 18 meters per minute). As you ascend, the water pressure decreases, and the air in your BCD and wetsuit expands, making you more buoyant. You'll need to release small amounts of air from your BCD to control your ascent rate. Keep an eye on your dive computer or depth gauge. If you start to accelerate, dump more air. If you slow down too much, you can add a tiny bit back, but usually, it's about releasing air. Remember to continuously exhale during your ascent to prevent lung overexpansion injuries. And don't forget your safety stop at 15-20 feet for 3-5 minutes!
Common Buoyancy Control Mistakes and How to Fix Them
Even experienced divers make buoyancy mistakes sometimes, but for beginners, these are common pitfalls. Let's look at them and how to avoid them.
Overweighting The Sinking Feeling
This is probably the most common mistake for new divers. They add too much weight because they're afraid of not being able to descend. The problem? If you're overweighted, you'll constantly be adding air to your BCD to stay neutral. This makes you less streamlined, increases drag, and most importantly, makes you use more air. You'll also find yourself kicking constantly to stay off the bottom, stirring up silt and tiring yourself out. The fix? Do your pre-dive buoyancy check diligently. Remove weight gradually until you can achieve neutral buoyancy with minimal air in your BCD at your safety stop depth.
Underweighting The Floating Frustration
On the flip side, being underweighted means you'll struggle to descend or stay at depth. You'll be kicking downwards constantly, which is exhausting and inefficient. The fix here is simple: add more weight, but do it incrementally. Again, the pre-dive check is your best friend.
Over-Inflating the BCD The Balloon Effect
Many beginners tend to add too much air to their BCD at once, especially during descent or when trying to hover. This leads to a rapid ascent, which is dangerous. The key is to use small, controlled bursts of air. Think of it like a dimmer switch, not an on/off switch. A quick half-second press of the inflate button is often all you need. Practice makes perfect here.
Ignoring Your Breathing The Air Consumption Trap
As mentioned, your lungs are a powerful buoyancy tool. If you're holding your breath or breathing shallowly, you're missing out on a crucial way to fine-tune your position. Deep, slow, controlled breaths are not only good for air consumption but also for subtle buoyancy adjustments. Practice using your breath to rise and fall a few inches without touching your BCD. This skill will save you air and make you a much more graceful diver.
Poor Trim The Vertical Diver
If you find yourself constantly kicking to stay horizontal, or your fins are dragging on the bottom, your trim might be off. This often happens when all your weight is on a belt around your waist, pulling your lower body down. The solution is to distribute your weight more evenly. Integrated weight pockets in your BCD help, and sometimes adding small trim weights to your tank band can balance you out. Practice maintaining a horizontal position in the water, with your knees bent and fins slightly elevated.
Advanced Buoyancy Techniques and Drills for Improvement
Once you've got the basics down, you can start working on more advanced buoyancy skills. These will make you an even more efficient and comfortable diver.
Hovering Drills The Zen of Diving
The ability to hover motionless at any depth is the hallmark of a truly skilled diver. Find a clear, sandy patch of bottom (away from any delicate marine life!). Deflate your BCD until you're neutrally buoyant. Now, try to stay perfectly still, without moving your hands or fins. Use only your breath to make tiny adjustments. If you start to sink, inhale a little more deeply. If you start to rise, exhale a little more fully. Set a timer for 30 seconds, then a minute, then two minutes. This drill will dramatically improve your control and awareness.
Fin Pivots and Helicopter Kicks Buoyancy in Motion
Once you can hover, try fin pivots. From a kneeling position on the bottom (again, sandy area!), inflate your BCD just enough so that your fins are barely touching the sand, and your body is horizontal. Now, use only your fins to pivot around in a circle, keeping your body perfectly horizontal. This teaches you precise fin control and how to maintain trim while moving. The helicopter kick (or frog kick) is another great skill for buoyancy. It's a powerful, efficient kick that keeps your fins up and away from the bottom, perfect for navigating tight spaces or silty environments.
Navigating Obstacles and Swim-Throughs Precision Buoyancy
Once you're comfortable with hovering and fin pivots, try navigating through imaginary (or real, if safe and appropriate) obstacles. Set up some hoops or lines in a pool, or find some natural rock formations (again, being mindful of the environment). Practice swimming through them without touching anything. This requires precise buoyancy control and spatial awareness. It's a fantastic way to build confidence and refine your skills.
Buoyancy in Different Environments Adapting to Conditions
Remember that your buoyancy will change depending on the environment. You'll need more weight in saltwater than in freshwater. Your wetsuit will lose some of its buoyancy at deeper depths due to compression. If you're diving with a different tank (e.g., steel vs. aluminum), your weighting will need to be adjusted. Always do a quick buoyancy check at the start of each dive, especially if conditions or gear have changed. Practice adapting your buoyancy control to these different scenarios.
Recommended Buoyancy Control Training and Resources
While your Open Water Diver course covers the basics of buoyancy, there's always room for improvement. Many dive agencies offer specialty courses specifically focused on buoyancy control.
PADI Peak Performance Buoyancy Specialty Course
This is probably the most popular and widely available buoyancy course. The PADI Peak Performance Buoyancy specialty course is designed to refine your weighting and buoyancy skills. It typically involves two open water dives where you'll practice various drills, including hovering, fin pivots, and navigating through obstacles. It's an excellent course for any diver looking to improve their air consumption, protect the environment, and simply become a more graceful diver. The cost usually ranges from $150-$250, not including gear rental or dive fees.
SSI Perfect Buoyancy Specialty Course
Similar to PADI's offering, the SSI Perfect Buoyancy specialty course focuses on mastering neutral buoyancy. It also involves practical in-water sessions and emphasizes efficient finning techniques and trim. SSI's approach is often very practical and hands-on. Pricing is comparable to PADI, usually in the $150-$250 range.
Online Resources and Practice
Beyond formal courses, there are tons of great online resources. YouTube channels like Dive Talk or Simply Scuba often have excellent tutorials on buoyancy drills. Reading articles and watching videos can reinforce what you learn in the water. But remember, nothing beats actual in-water practice. The more you dive, the more intuitive buoyancy control will become. Make every dive a buoyancy practice dive. Pay attention to how your body feels, how much air you're adding or releasing, and how your breathing affects your position. Keep a dive log and note down your weighting for different conditions and gear setups. This will help you dial in your perfect weighting over time.
Ultimately, mastering buoyancy control is a journey, not a destination. It's a skill that you'll continue to refine throughout your diving career. But by focusing on proper weighting, understanding your BCD, and using your breath effectively, you'll quickly transform from a beginner struggling with control to a confident, graceful diver effortlessly exploring the underwater world. Happy diving!
:max_bytes(150000):strip_icc()/277019-baked-pork-chops-with-cream-of-mushroom-soup-DDMFS-beauty-4x3-BG-7505-5762b731cf30447d9cbbbbbf387beafa.jpg)