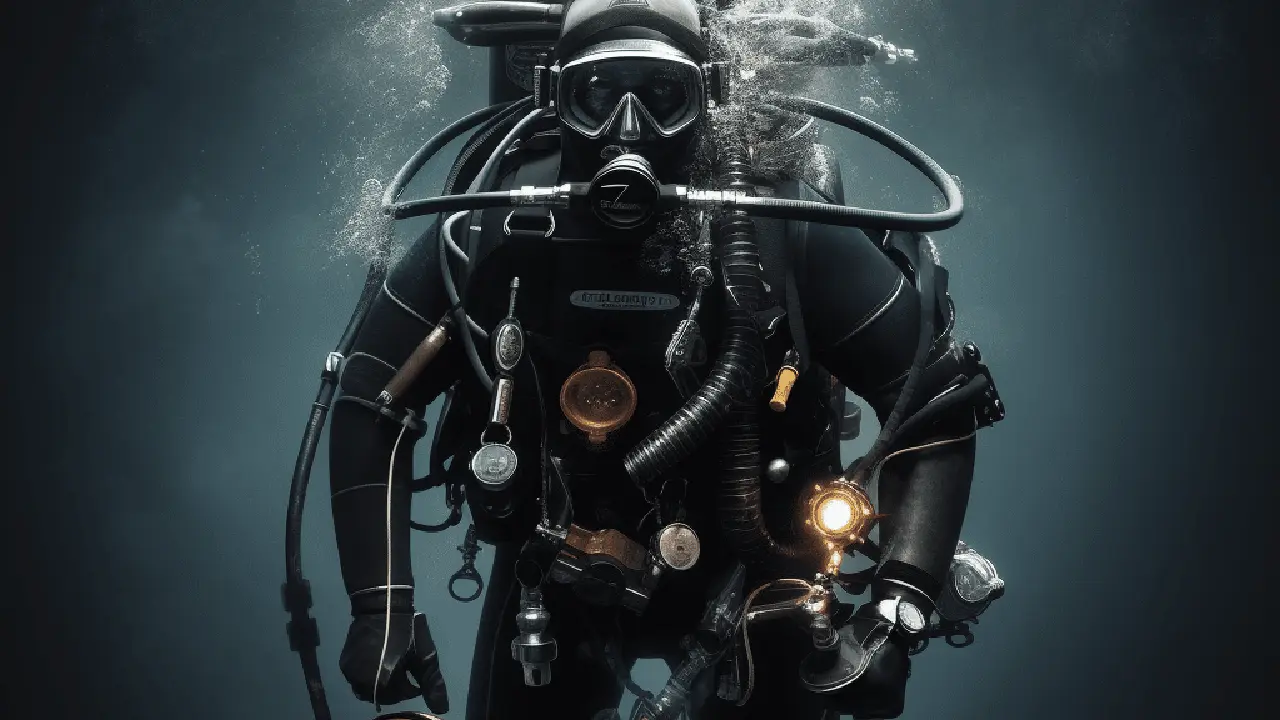
Best Practices for Underwater Macro Photography
Master artificial lighting techniques using strobes and video lights for dramatic underwater shots.

Master artificial lighting techniques using strobes and video lights for dramatic underwater shots.
Scuba Diving and Underwater Lighting Techniques
Welcome, fellow underwater enthusiasts and aspiring photographers! Today, we're diving deep into one of the most crucial aspects of capturing breathtaking underwater images and videos: artificial lighting. The ocean, while beautiful, is a challenging environment for photography due to light absorption. As you descend, colors disappear, starting with red, then orange, yellow, and eventually green, leaving everything looking blue or green. This is where strobes and video lights become your best friends, bringing back those vibrant hues and adding dramatic flair to your shots.
Why Underwater Lighting is Essential for Photography and Videography
Think about it: without artificial light, your underwater photos often look flat, monochromatic, and lack punch. Natural light, even on a sunny day, can only do so much. Strobes and video lights serve several vital purposes:
- Restoring Color: This is perhaps the most significant benefit. By introducing a full spectrum of light, you can bring back the reds, oranges, and yellows that are absorbed by water, making your subjects pop with natural vibrancy.
- Adding Contrast and Dimension: Light creates shadows, and shadows create depth. Artificial lighting can sculpt your subjects, highlighting textures and adding a three-dimensional quality that natural light alone often can't achieve.
- Freezing Motion: Strobes, with their short, powerful bursts of light, are excellent for freezing fast-moving subjects like fish, ensuring sharp images even in challenging conditions.
- Illuminating Dark Areas: Whether it's a dark crevice, a cave, or simply the shaded side of a coral, artificial lights can illuminate these areas, revealing hidden details and creatures.
- Controlling Exposure: You have more control over your exposure when you can manipulate the light source. This allows for creative effects, such as black backgrounds or perfectly exposed subjects against a darker backdrop.
Understanding Underwater Strobes for Still Photography
Strobes are essentially underwater flashes. They emit a very brief, intense burst of light, synchronized with your camera's shutter. They are the go-to choice for still photography due to their power and ability to freeze motion.
Key Features to Consider When Choosing an Underwater Strobe
- Guide Number (GN): This indicates the power of the strobe. A higher GN means a more powerful strobe, allowing you to light subjects from further away or use smaller apertures for greater depth of field.
- Beam Angle: This refers to how wide the light spreads. A wider beam angle (e.g., 100-120 degrees) is generally preferred for wide-angle photography, while a narrower beam might be suitable for macro.
- Recycle Time: How quickly the strobe recharges between flashes. A faster recycle time is crucial for capturing multiple shots in quick succession, especially with fast-moving subjects.
- Battery Life: How many flashes you can get on a single charge. Look for strobes with good battery life, especially if you plan for multiple dives without recharging.
- Connectivity: Most strobes connect to your camera housing via fiber optic cables (for optical triggering) or electrical sync cords (for electrical triggering). Optical is more common and often simpler to set up.
- Manual vs. TTL (Through-The-Lens): Manual mode gives you full control over the strobe's power output. TTL mode automatically adjusts the strobe's power based on what the camera meters, which can be convenient but sometimes less precise. Many strobes offer both.
- Ergonomics and Size: Consider how easy the strobe is to handle underwater, its weight, and how it integrates with your camera rig.
Recommended Underwater Strobes for Different Skill Levels and Budgets
For Beginners and Enthusiasts (Excellent Value)
Ikelite DS51 II Strobe:
- Price Range: Around $500-$600 USD
- Why it's great: This is a fantastic entry-level strobe that punches above its weight. It's compact, lightweight, and offers good power for its size. It supports both manual and TTL (with compatible Ikelite housings). It's durable and reliable, making it a solid choice for those starting out.
- Use Cases: Perfect for macro photography, close-focus wide-angle, and general reef scenes. Its compact size makes it easy to travel with.
- Considerations: While powerful for its size, it might not have the raw power for illuminating very large wide-angle scenes from a distance.
Sea & Sea YS-03 Solis Strobe:
- Price Range: Around $300-$400 USD
- Why it's great: An incredibly user-friendly and affordable strobe, ideal for compact camera users. It's designed for simplicity, often operating in a slave mode that mirrors your camera's built-in flash.
- Use Cases: Best suited for compact camera systems and casual underwater photography where simplicity is key. Great for adding color to macro and close-up shots.
- Considerations: Less powerful than other options, and typically lacks manual control, relying solely on TTL or slave functionality.
For Intermediate to Advanced Photographers (Versatile Performance)
Inon Z-330 Strobe:
- Price Range: Around $700-$800 USD
- Why it's great: A highly popular and versatile strobe known for its wide, even beam angle (110 degrees without diffuser, 120 with) and powerful output (GN 33). It has a fast recycle time and excellent battery life. It supports both optical and electrical triggering.
- Use Cases: Excellent for both wide-angle and macro photography. Its wide beam makes it suitable for illuminating large scenes, while its power is great for macro.
- Considerations: A bit pricier, but a worthwhile investment for serious photographers.
Retra Flash PRO X:
- Price Range: Around $1,000-$1,200 USD
- Why it's great: Considered one of the top-tier strobes on the market. It boasts incredible power, a super-fast recycle time, and a very wide and even beam. It's built like a tank and offers advanced features for precise control.
- Use Cases: Professional wide-angle and macro photography. Ideal for demanding shooting situations where power and speed are paramount.
- Considerations: Premium price point, but delivers professional-grade results.
Mastering Underwater Video Lights for Dynamic Footage
Video lights, unlike strobes, provide a continuous beam of light. They are essential for videography but also incredibly useful for still photography, especially for focusing in low light or for creative lighting effects.
Key Features to Consider When Choosing an Underwater Video Light
- Lumen Output: This measures the brightness of the light. Higher lumens mean a brighter light. For serious video, aim for at least 3000-5000 lumens, with many professional lights going much higher.
- Beam Angle: Similar to strobes, a wider beam angle (e.g., 100-120 degrees) is generally preferred for video to ensure even illumination across the frame.
- Color Temperature (Kelvin): This indicates the warmth or coolness of the light. Most video lights are around 5000K-6500K, mimicking natural daylight. Some offer adjustable color temperatures.
- CRI (Color Rendering Index): This measures how accurately the light renders colors. A higher CRI (90+) means more natural and vibrant colors in your footage.
- Battery Life: Crucial for video lights, as they are continuously on. Look for lights with long burn times, especially at higher power settings.
- Mounting Options: Ensure the light can be easily mounted to your camera tray and arms.
- Red Light/UV Light Modes: Some lights offer these modes for focusing in low light without scaring marine life (red light) or for fluorescent diving (UV light).
Recommended Underwater Video Lights for Various Needs
For Beginners and Casual Videographers (Affordable and Effective)
SeaLife Sea Dragon 2500F Photo/Video Light:
- Price Range: Around $300-$400 USD
- Why it's great: A popular choice for its balance of price, performance, and ease of use. It offers 2500 lumens with a wide 120-degree beam. It's compact and has a good battery life for its output.
- Use Cases: Excellent for compact camera video, GoPro setups, and as a focus light for still photography.
- Considerations: While good, it might not be powerful enough for illuminating very large wide-angle scenes or for professional-grade video.
Bigblue VL33000P Video Light:
- Price Range: Around $200-$300 USD
- Why it's great: Offers a surprising 3300 lumens for its price point, making it a strong contender for budget-conscious videographers. It has a wide beam and multiple power settings.
- Use Cases: Good for general video, especially with compact and mirrorless cameras. Can also serve as a powerful focus light.
- Considerations: Battery life might be shorter at max power compared to more expensive options.
For Intermediate to Professional Videographers (High Performance)
Keldan Luna 8 LA-8 Video Light:
- Price Range: Around $1,500-$2,000 USD (per light)
- Why it's great: Keldan lights are renowned for their exceptional quality, high lumen output (up to 15,000 lumens), and incredibly accurate color rendering (high CRI). They produce a very smooth and even beam.
- Use Cases: Professional videography, especially for large wide-angle scenes, documentaries, and commercial work where color accuracy is paramount.
- Considerations: Significant investment, often requiring two lights for optimal illumination.
Light & Motion Sola Video 3800/4000/6000/8000/12000 Lights:
- Price Range: $500 - $2,000+ USD (depending on lumen output)
- Why it's great: Light & Motion offers a wide range of Sola video lights with varying lumen outputs, allowing you to choose based on your needs and budget. They are compact, powerful, and feature a sealed design (no O-rings to worry about).
- Use Cases: Versatile for all levels of videography, from casual to professional. The higher lumen models are excellent for wide-angle video.
- Considerations: While sealed, the internal battery means you can't swap batteries on a dive trip, requiring charging between dives.
Practical Lighting Techniques for Stunning Results
Having the right gear is only half the battle. Knowing how to use it effectively is where the magic happens. Here are some fundamental lighting techniques:
Strobe Positioning for Still Photography
The position of your strobes dramatically affects the look of your photos. The goal is to illuminate your subject without backscatter (those annoying white dots caused by light reflecting off particles in the water).
- Macro Photography: For macro, you want to bring your strobes in close to your subject, often slightly angled inwards. This creates a soft, even light and minimizes shadows. Experiment with one strobe from the side for dramatic lighting or two strobes for even illumination.
- Wide-Angle Photography: This is where backscatter becomes a major challenge. The key is to position your strobes out and slightly behind your camera's port, pointing slightly outwards. This technique, often called 'arms out and back,' ensures the light beam crosses in front of your lens, illuminating the subject but not the water directly in front of the port. This minimizes light hitting particles between your lens and the subject.
- Snoots and Diffusers:
- Snoots: These are accessories that attach to your strobe to narrow the beam of light, creating a spotlight effect. They are fantastic for isolating macro subjects and creating dramatic black backgrounds.
- Diffusers: These soften the light from your strobe, reducing harsh shadows and creating a more even illumination. Many strobes come with diffusers, or you can purchase aftermarket ones.
Using Video Lights for Dynamic Footage
For video, continuous light means you're constantly adjusting. Here's how to get the most out of your video lights:
- Dual Lights for Even Illumination: For most video setups, especially with wide-angle lenses, using two video lights is highly recommended. Position them on either side of your camera, slightly angled inwards, to provide even illumination and reduce harsh shadows.
- Angle for Depth: Don't just point your lights straight at the subject. Experiment with angling them slightly from the sides or above to create depth and highlight textures.
- Avoid Hotspots: Be mindful of creating overly bright spots on your subject. Adjust the power settings or angle of your lights to ensure even exposure.
- Focus Light for Still Photography: Even if you're primarily a still photographer, a video light makes an excellent focus light, especially in low-light conditions or when shooting macro. Many strobes have a built-in focus light, but a dedicated video light is often more powerful.
- Creative Lighting: Use a single video light for dramatic side lighting, or point it away from your subject to create silhouettes. The possibilities are endless!
Troubleshooting Common Lighting Challenges
Even with the best gear and techniques, you'll encounter challenges. Here's how to tackle some common ones:
- Backscatter: This is the bane of underwater photographers. The primary solution is proper strobe/light positioning (arms out and back for wide-angle, close and angled for macro). Also, try to shoot in clear water, avoid kicking up sediment, and use a narrower beam angle if possible for macro. Post-processing can help reduce it, but prevention is key.
- Overexposure/Underexposure: Adjust your strobe power (manual mode) or camera settings (aperture, ISO, shutter speed) to get the correct exposure. For video, adjust the light's power output or your camera's ISO/aperture.
- Color Casts: If your images still have a blue or green cast despite using artificial light, check your camera's white balance settings. You might need to manually set it or use a custom white balance.
- Uneven Lighting: This often happens with wide-angle shots if your lights aren't powerful enough or positioned correctly. Ensure your lights have a wide enough beam angle and are positioned to cover the entire frame.
- Battery Drain: Always carry spare batteries for your strobes and video lights, or ensure they are fully charged before each dive. Reduce power settings when not actively shooting to conserve battery life.
Maintaining Your Underwater Lighting Gear
Your strobes and video lights are precision instruments exposed to harsh saltwater. Proper maintenance is crucial for their longevity and performance.
- Rinse Thoroughly: After every dive, rinse your lights and strobes thoroughly in fresh water. Pay special attention to buttons, dials, and battery compartments.
- Inspect O-Rings: Before every dive, carefully inspect the O-rings for any dirt, hair, or damage. Clean them with a lint-free cloth and apply a thin layer of silicone grease.
- Charge Batteries Properly: Follow the manufacturer's instructions for charging. Avoid overcharging or completely draining lithium-ion batteries.
- Store Safely: Store your lights and strobes in a cool, dry place, away from direct sunlight. Remove batteries if storing for extended periods.
- Service Regularly: Consider having your lights and strobes professionally serviced periodically, especially if you dive frequently.
Mastering underwater lighting is an ongoing journey. It requires practice, experimentation, and a keen eye for detail. Don't be afraid to try different strobe positions, experiment with power settings, and observe how light interacts with your subjects. The more you practice, the more intuitive it becomes, and the more stunning your underwater photos and videos will be. So grab your gear, dive in, and start illuminating the incredible beauty of the underwater world!
:max_bytes(150000):strip_icc()/277019-baked-pork-chops-with-cream-of-mushroom-soup-DDMFS-beauty-4x3-BG-7505-5762b731cf30447d9cbbbbbf387beafa.jpg)